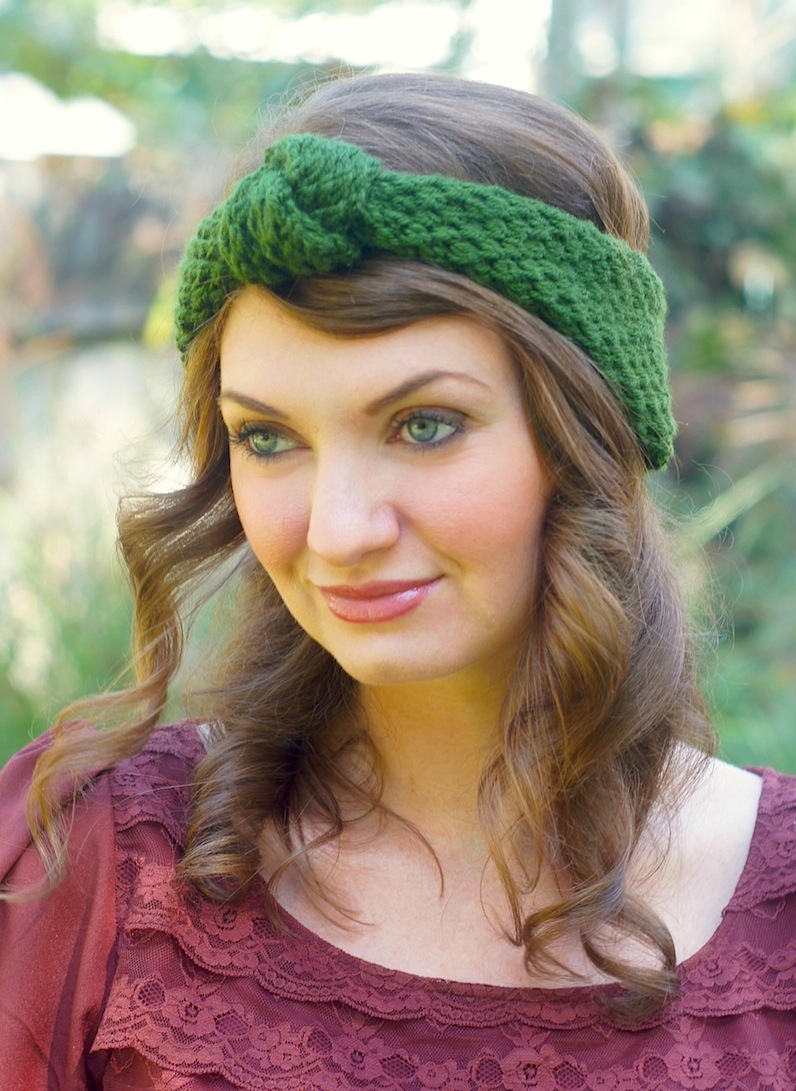
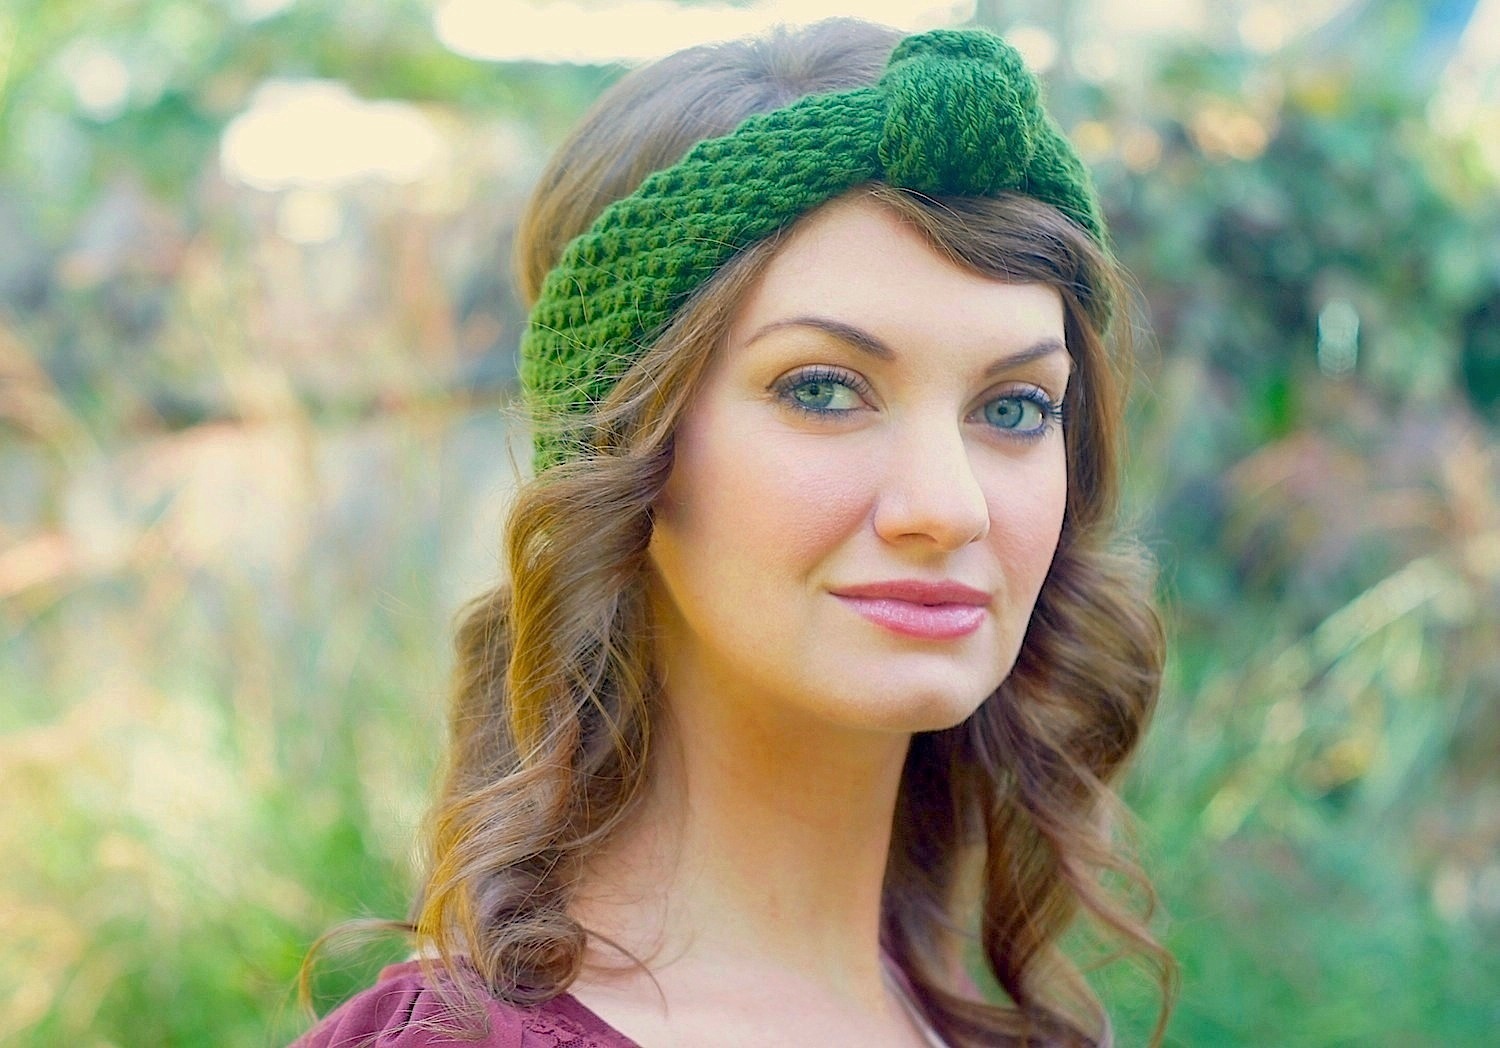
 now that fall is here + the weather is getting downright chilly, i’m back into the swing of knitting! year-round, i love hair accessories — headbands, scarves made into headwraps, pretty barrettes + clips — so, i wanted to try making a knitted hair accessory. after looking through tons of pictures online, i was inspired by this sold-out ASOS knotted headband. that’s the joy of knitting, though – something’s sold out? no big deal, just make it yourself!
in anticipation of this project, i bought some lovely new green yarn, but since this project involved stitches that i’d never tried before, i decided to make a practice version first, using rose-colored yarn that i already had. the practice version turned out wonderful, so i was even more excited to make the final version in green. + in the end, i could not be happier with the final result – i love it!
a quick note: if you’ve never knitted, don’t be intimidated. i taught myself to knit using only youtube videos as a guide ! it’s a lot easier than you’d think + has become one of my favorite relaxing hobbies. so if you’ve been wanting to attempt knitting, give it a try!
thanks to my husband for taking these pictures – i’m on the other side of the camera for a change!

knitted vintage-inspired knot headband
inspired by because she started knitting
materials
1 ball of medium-weight worsted yarn (i used red heart soft yarn in dark leaf)
size 6 knitting needlesdirections
provisional cast on 19 stitches
row 1: knit 2. then purl 1, knit 1 through the rest of the row
row 2: knit 1, knit 1 from the row below – repeat through the rest of the row
row 3: knit 1, purl 1 – repeat through the rest of the row
row 4: knit 2. then knit 1 from the row below, knit 1 – repeat through the rest of the rowrepeat this 4-row pattern until headband reaches the desired length (remember that you’re going to make a knot in it, so it’ll have to be a few inches longer than the circumference of your head). for me, this was 42 repeats of the 4-row pattern, or a length of about 25″.
knot the headband in the middle, + before proceeding, ensure that the length is correct.
once you have reached the desired length, kichener stitch the final row with the provisional cast-on row. weave it all ends.
print this recipe


 follow on pinterest
{ 81 comments… read them below or add one }
← Previous Comments
You’re so welcome, Merry! Here’s the video I used to teach myself how to ‘knit into the stitch below’ – http://www.youtube.com/watch?v=V0CBczqZerw. and here’s the video i used to teach myself the kitchener stitch: http://www.youtube.com/watch?v=I7jIzwO5Nv4. Hope these both help you out! And happy knitting to you, too! =)
If you could please send mean e-mail explaining how to knit from below and the kirchener stitch, I would really appreciate it. I love knitting. Still learning a lot and really looking forward to making this for some family members. Thank you for sharing this with all of us.
What is the kirchener stitch?
hi Ellen, The kitchener stitch is a finishing stitch used to knit together/finish off two rows of live stitches. here’s the video i used to teach myself the kitchener stitch: http://www.youtube.com/watch?v=I7jIzwO5Nv4. hope this helps!
I am dying to try this pattern; however, what do you mean by “knit from below” after the first k1? I have knited for a long time, but I have never seen this before. HELP!!! Thanks so much.
I would appreciate it if you could send me the youtube address for the Kichener stitch as well as the knit from row below. Your pattern is beautiful!! Thanks so much.
Hi Marie! Here’s the video I used to teach myself how to ‘knit into the stitch below’ – http://www.youtube.com/watch?v=V0CBczqZerw. and here’s the video i used to teach myself the kitchener stitch: http://www.youtube.com/watch?v=I7jIzwO5Nv4. Hope these both help you out!
I just have one question…on Row 1 when you say k1 through the rest of the row, is it k2, p1, k1, and repeat those four stitches for the rest of the row, or literally k1 for the other 15 stitches? And again for Row 2…is it k1, k1 below, and repeat those two stitches for the rest of the row? Thanks!!
Hi Kristen,
On Row 1, you start by knitting 2. THEN, you repeat the 2-stitch pattern of p1, k1 for the rest of that row. (so, it’s literally k2, p1, k1, p1, k1, p1, k1, p1, k1, p1, k1, p1, k1, p1, k1, p1, k1, p1)
On Row 2, it’s k1, knit below, k1, knit below, k1, knit below, etc. through the end of the row.
On Row 3, it’s k1, p1, k1, p1, k1, p1, etc.
On Row 4, you start by knitting 2. THEN, you repeat the 2-stich pattern of kbelow, k1, kbelow, etc. through the end of the row.
Hope this helps!
Amy
Hi Amy, I love the headband, but I have torn it out multiple times. My pattern doesn’t seem to look like yours. I watched the video on how to knit below, so I think I’m doing that right. Yours seems to have a somewhat diagonal pattern. Is it reversible? Mine is primarily knitted on one side and purl on the other. Also, on the original pattern, the 4th row says knit 2, then knit 1 from below, knit 1. But on an explanation you gave Kristen, it’s k2, then, k1, kbelow, etc.
Thanks,
Stacie
Hi Stacie, I’m not sure why your pattern isn’t turning out right. I’ve had a bunch of readers make it + send me pics, so I know it’s turning out well for some! To answer your questions:
1. yes, the pattern winds up having a diagonal/diamond look to it. And the two sides look completely different. After a few rows, the headband starts to curl in slightly at the edges so it’ll become obvious which side is the outside. The outside has that diamond pattern, while the other side looks clearly like the inside, if that makes sense. it does take a little while before the diamond pattern becomes obvious.
2. in the correction i gave kristen, I did have a typo in how i described row 4. my apologies and thanks for catching it! it is typed correctly in the post, + i corrected it in my response to kristen – it’s k2, kbelow, k1, kbelow, k1, kbelow, etc.
Let me know if there’s anything else I can answer to help!
Hi Amy:
Could you explain to me the provisional cast on please
Hi Ruth, The provisional cast-on is a way to cast-on, working in a different-colored waste yarn, so that you can be left with live stitches at the end that you can easily work with. Here’s a great video to learn how to do a provisional cast-on: http://www.youtube.com/watch?v=DXp8rUNxJtY
How do you knit stitches from the row before. Someone please help me.
Hi Janet, it’s hard to explain exactly where to knit when you ‘knit into the stitch below’ – pictures or a video make it easier to understand. This is the video I watched to teach myself that stitch – hope it helps you, too! =) http://www.youtube.com/watch?v=V0CBczqZerw
Hi Amy,
I have never knitted a single thing in my life but I am very interested in making this! could you please send me any and all video links that will help me? (I don’t know how to purl).
taylorpavacich@yahoo.com
Please and thank you!
Hi , I wanted to know how the end of the rows on one side is loose and looks untidy as on the 4th row you knit below leaving it loose. The other side is neat looking
Hi Ann, I didn’t have that problem, so I’m not sure what you might be doing incorrectly. let me think + see if i can figure out what might be causing that for you!
I’m glad your husband took the pictures and you were in front of the camera. You are very pretty and the headband looks lovely on you. Beautiful pattern and excellent choice of color. I can’t wait to try it out.
You are so sweet, Teresa – thank you for the kind words!!
As soon as I saw this pattern I knew I had to knit it for a friend of mine, she is going to love it as it’s exactly her style. It looks lovely and you do too. You should model more as you are very photogenic. Well done hubby on a great picture.
Glad Kristen asked and you clarified the pattern as I was wondering the same thing.
Thanks for the pattern and the links.
Best wishes from me in France.
You are so kind, Charlee – thank you! I hope your friend loves the headband – I’m sure it’ll turn out wonderful for you!
how wide would you say it should be? ? thanks
Hi Marylou! The headband is about 4-5″ wide unstretched, but it curls under a bit, so it looks thinner than that. Hope that helps!
How do you knit one from the row below?
Elaine, here’s the video I used to teach myself how to ‘knit into the stitch below’ – http://www.youtube.com/watch?v=V0CBczqZerw. Hope that helps!
Hi there! Not sure if you will get this, but I have some super bulky yarn I would like to try this with.. But won’t need to cast on 19. Maybe 11? Or 9? Any tips would be great!
Hi Megan! It’s hard for me to guess how many you’ll need to cast on without seeing the yarn, but assuming it’s super bulky (at least double the weight of the yarn I used), I’d also say either 11 or 9. I’d start with 9, and see how that looks. It does also depend on how wide you want the finished product to be. The good thing is that this knits up quite quickly, so if you start with 9 and decide after a few rows that it isn’t wide enough, you could easily start over with 11. Good luck, and please do report back how it goes! I hope it turns out beautifully with your yarn. =)
Hi Amy! I just want to make sure that I’m doing this correctly. At the end of the 4th row, I’m left with a loop just hanging off the side from the final knit below. Is that right? It looks weird. Thanks!
Hi Jenn! You definitely shouldn’t have a hanging dangler at the end of the 4th row (at least not that I remember from the last time I knitted this!). Have you done the “knit below” stitch before? Is there a chance you’re doing it incorrectly? I can get out my knitting needles and refresh my memory on exactly how it should look (and post a pic) later tonight once my baby is asleep for the night. =) Let me know if that will help!
Could you please clarify the needle size for this pattern, is this US 6 which would be a 4 mm?
← Previous Comments
{ 3 trackbacks }